With a happy and contented sigh of relief, I am happy to announce my new sewing studio is finished. It has been a journey of stretching my vision, practicing patience, and overcoming obstacles. I’m thrilled with the results! In many ways my new studio is similar to my previous studio partly because I loved the look, colors, and creative vibe of that studio. But there are some exciting new differences. For instance, the paint color I chose for the walls is darker and richer than the previous paint color although it is still my signature perwinkle. Let me share with you some of the other differences.
Previous Studio
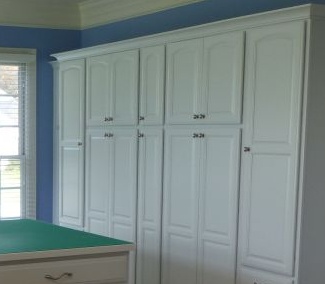
The cabinets were hand-crafted by Kraftmaid Cabinetry but the style I chose this time is more sleek and modern as compared to the traditional style I chose for our colonial-style home. In my previous studio, the details on the cabinets had rounded insets on the upper portions, which is traditional in style.
New Studio
In my new studio, the cabinets are similar in function and color but the insets are straight, sleek and modern which suits the style of our home in Southern California.

Previous Studio
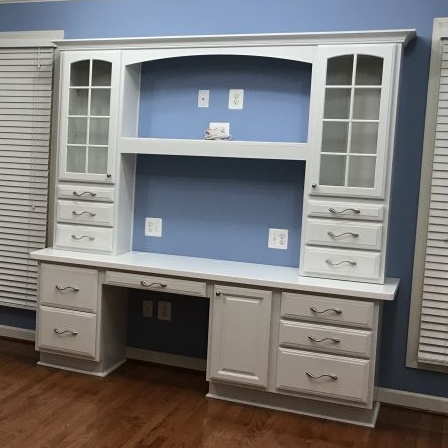
I made quite a few changes to the desk area. My previous desk, shown empty below, was beautiful and functional and the hutch connected the desk area to form one unit. My computer monitor and printer took up most of the desk space. True, there were more drawers but I found the limited desktop area challenging especially when I worked on writing a new pattern or designing.
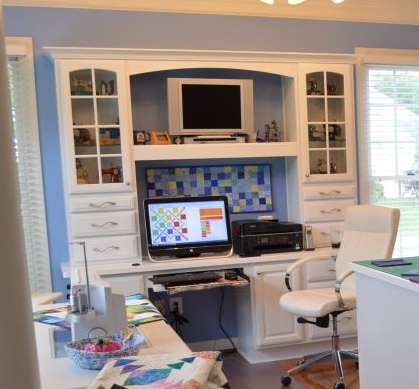
The desk, shown with my computer monitor and printer. The glass doors on the curio cabinet shelves featured a lattice, which is traditional in design.
New Studio
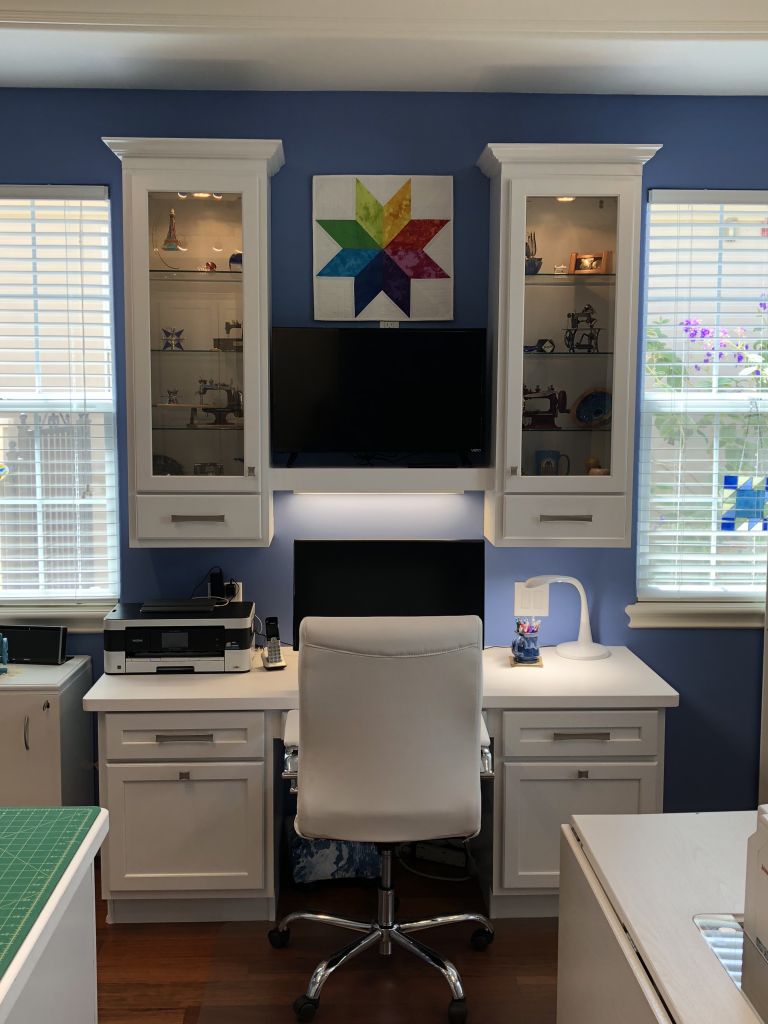
My new workstation still features a curio cabinet hutch above the desk but the design continues the modern theme in the room with beveled glass doors sans lattice, molding around the top of each cabinet but left open in between. The hutch cabinets are much larger in size and are suspended on the wall which leaves ample space on the desktop for my computer monitor and printer. The space between the windows is smaller in width than my previous desk, so I did lose some drawer space. Fortunately, I have a stand alone white Koala cabinet with drawers where I have stocked office supplies.
A brief recap, and the reveal
Remember how it looked when we bought the home and then began this process of transformation?

Before

During
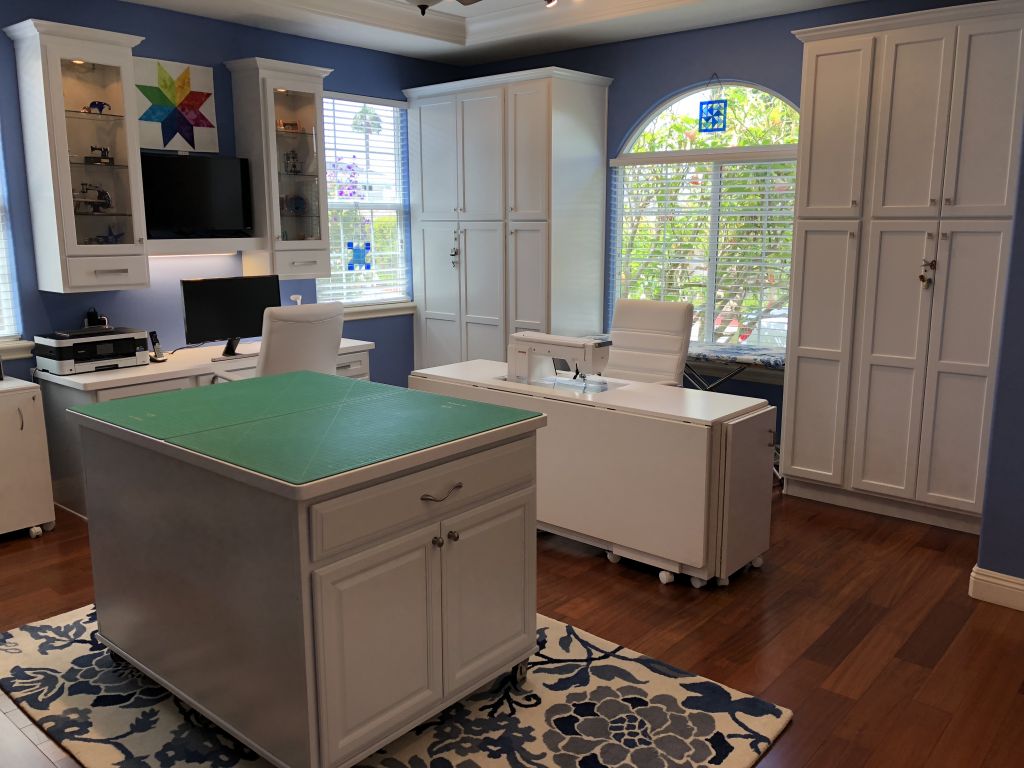
AFTER

Before
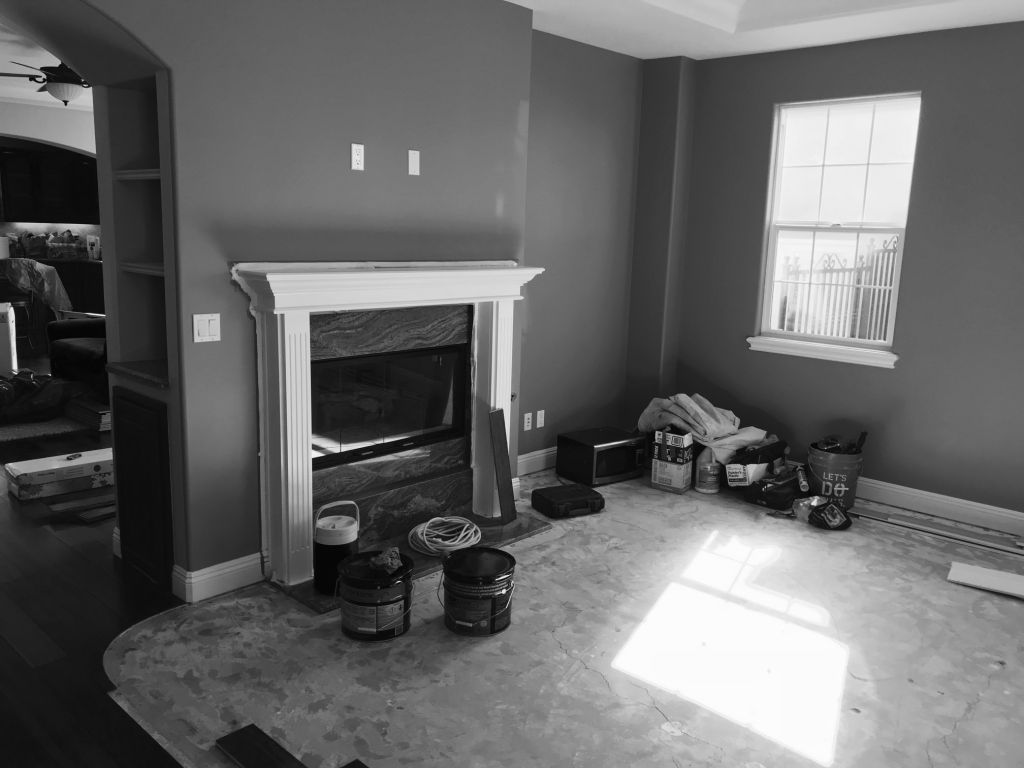
During
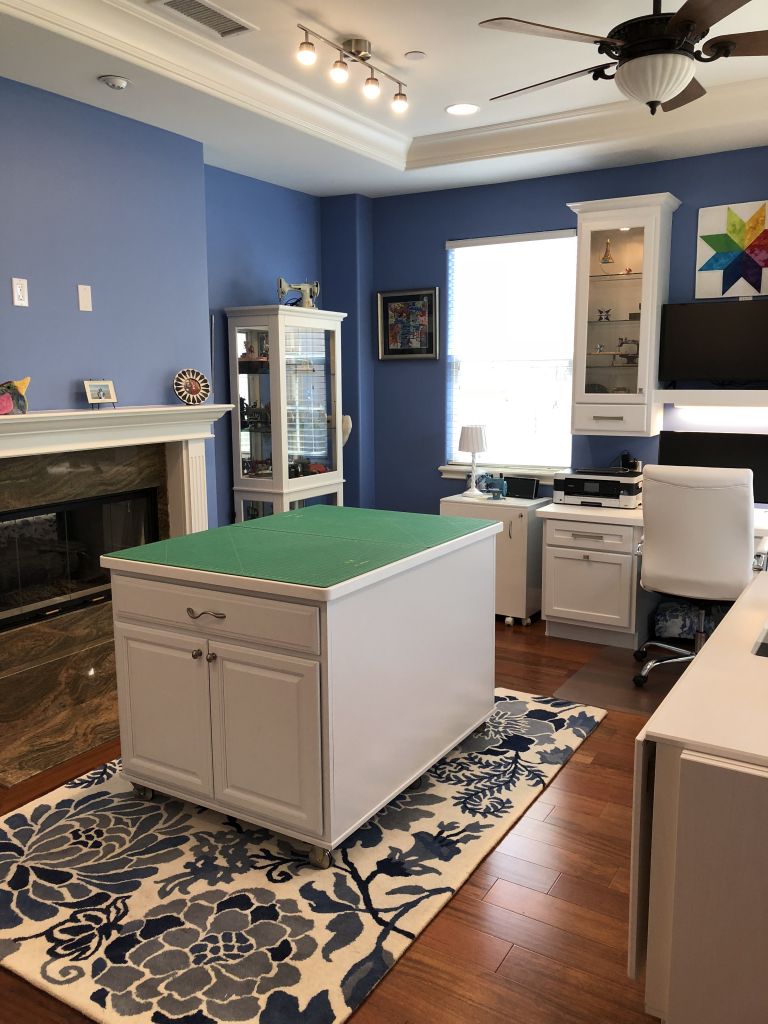
AFTER

Before
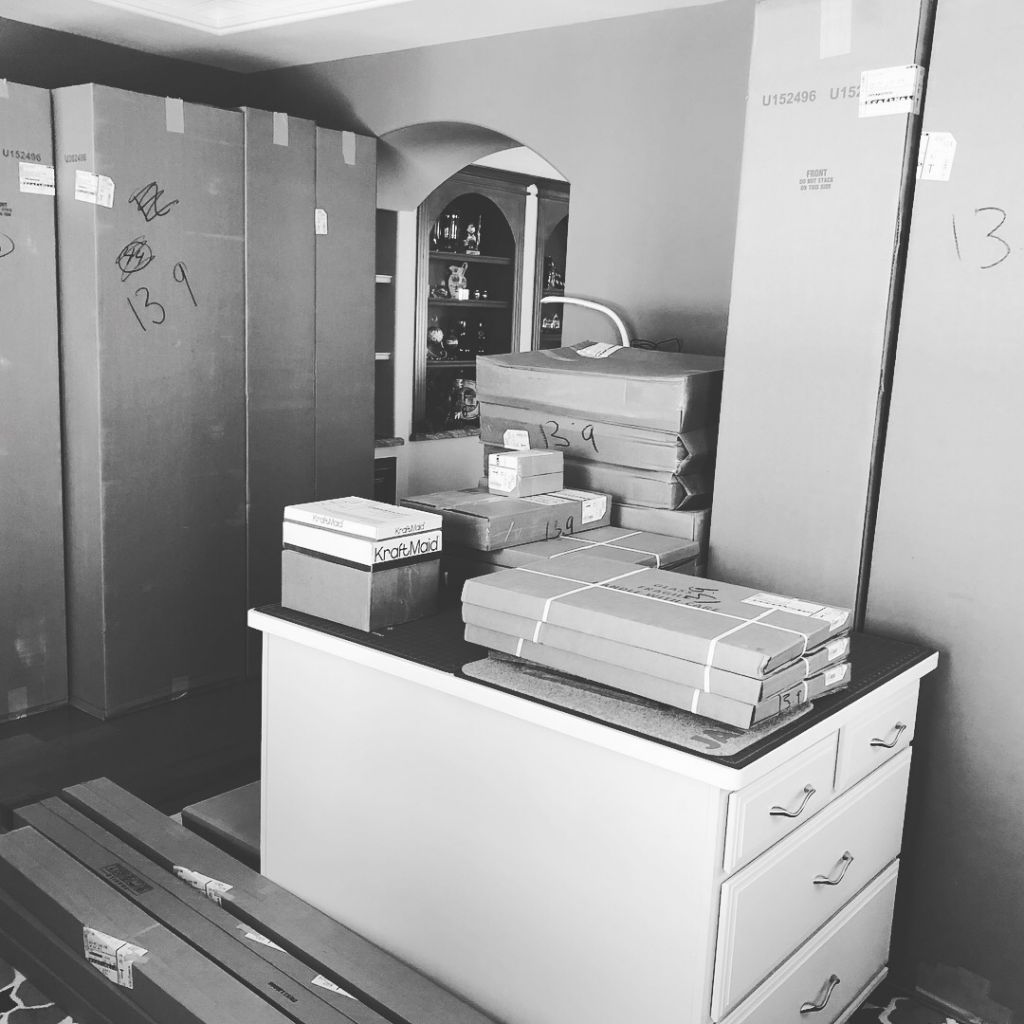
During
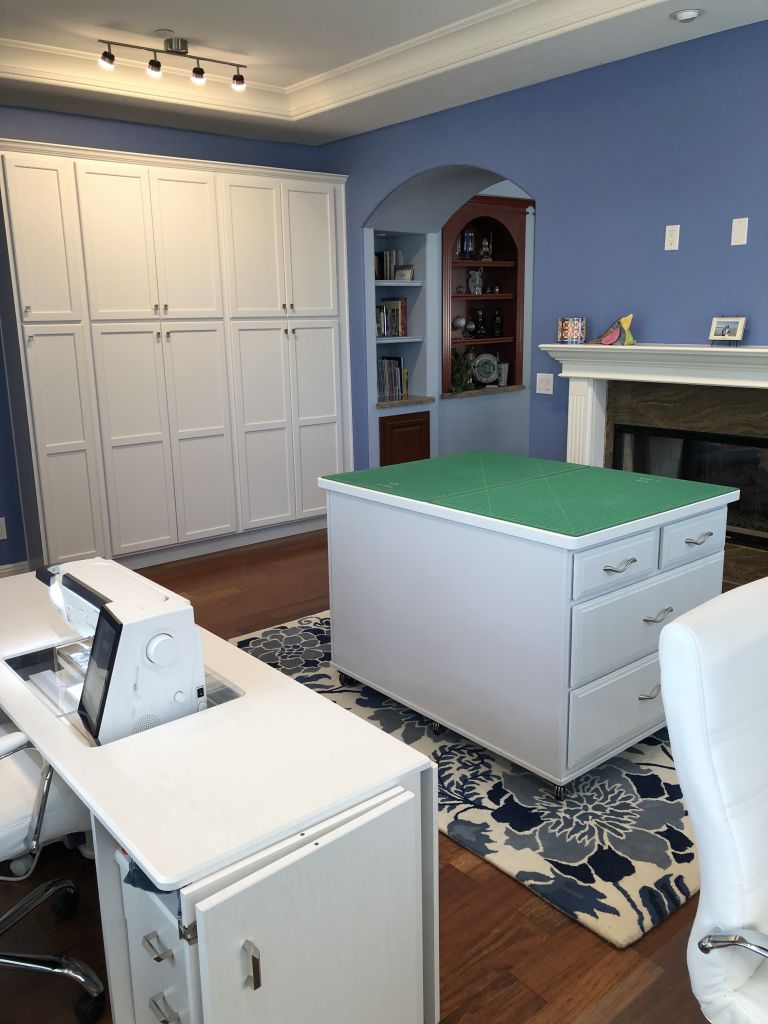
After
The place where my slimmer, streamlined stash is stored
This bank of cabinets was installed along the wall when you enter the front door. Only 12″ in depth, it is unobtrusive and the shelves are the perfect width for storing my stash for easy viewing and access. Since we downsized last year and I held the huge studio purge sale, my stash is streamlined and comprised mostly of blender prints, batiks, solids and hand-dyed fabrics, along with a few favorite focus prints. It has everything I need without my being overwhelmed by the sheer volume of fabrics I once had. The fabrics I chose to keep are fabrics I will use. This process has been liberating in my creative life.

Before
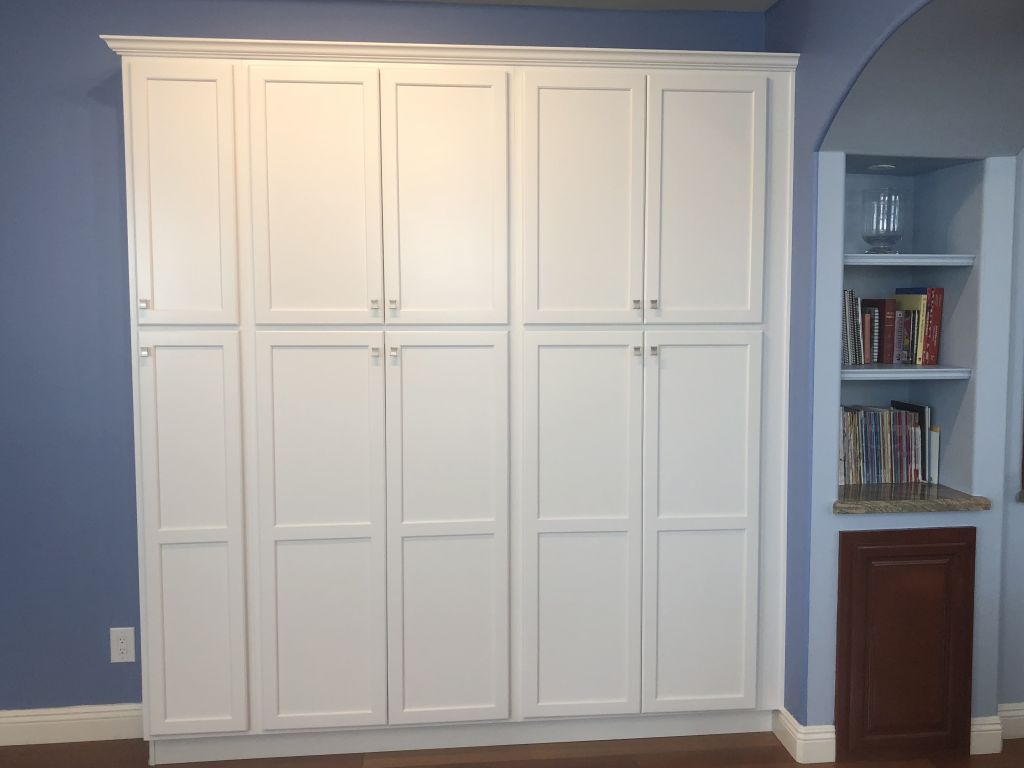
AFTER
My fabrics are sorted by color and type, such as prints, solids, batiks, wools, etc. The track lighting illuminates them brilliantly even at night which is perfect because I’m a night-owl stitcher.

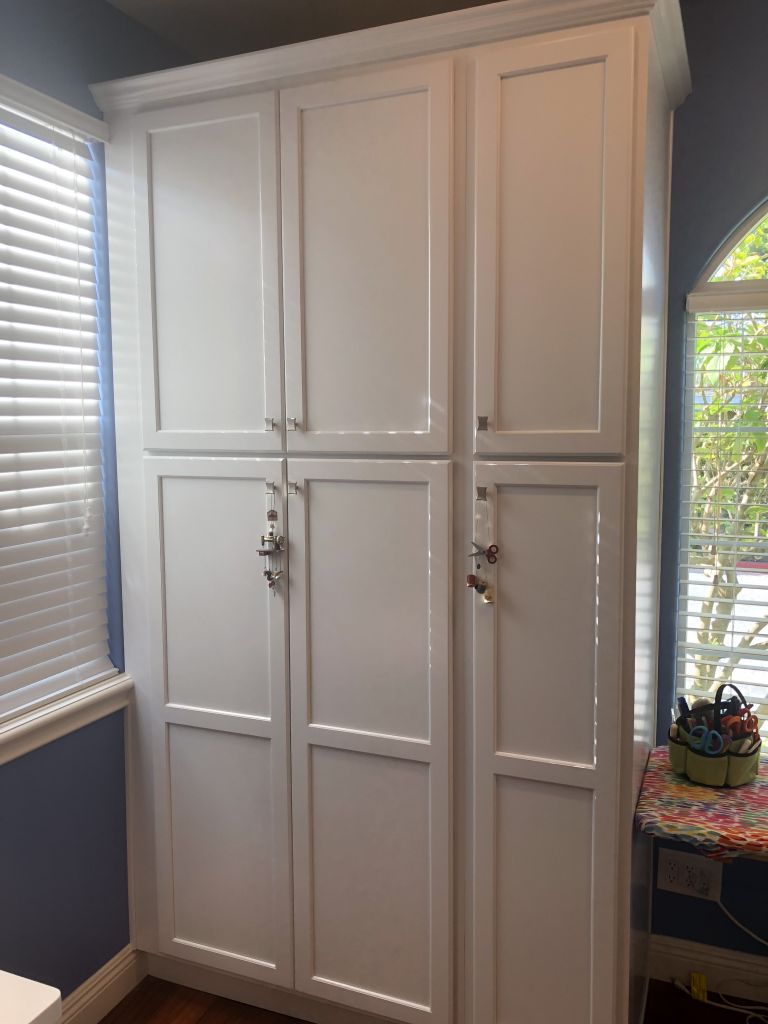
Deep cabinets
These cabinets are 23″ in depth and the bottom portion features gentle-glide, pull-out shelves for easy access to even the furthest recesses which means every square inch of space is usable and I don’t have to be a contortionist to reach those low-lying areas.
I keep my Solid-ish fabric line (Timeless Treasures Fabrics) stacked and ready to go in this cabinet since I tend to reach for them so frequently.
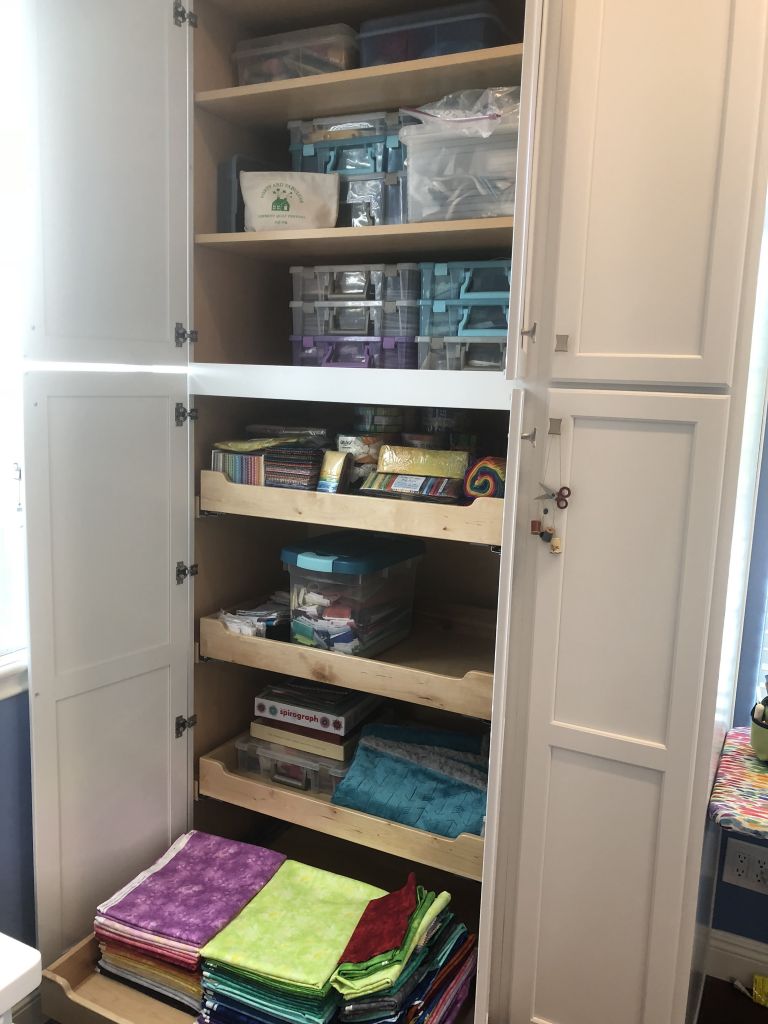
I utilize those Art Bin plastic “pizza-style” boxes for projects in progress on the upper shelves. And my pre-cut bundles are displayed on a shelf which pulls out so I can find exactly what I’m searching for at a glance.
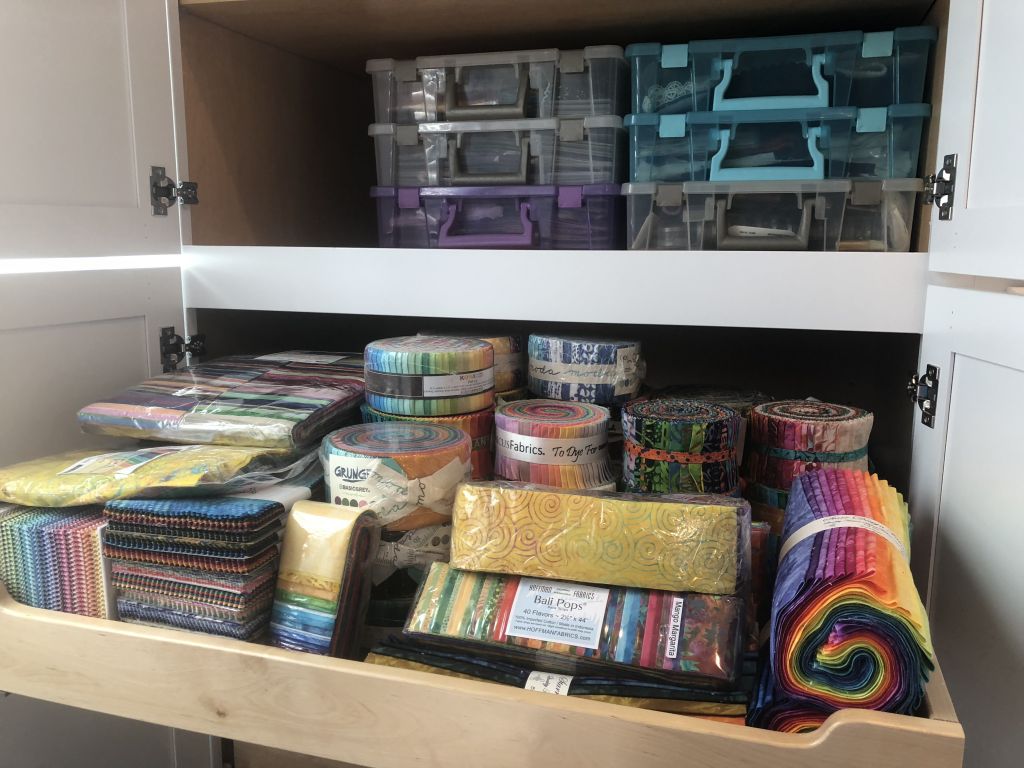
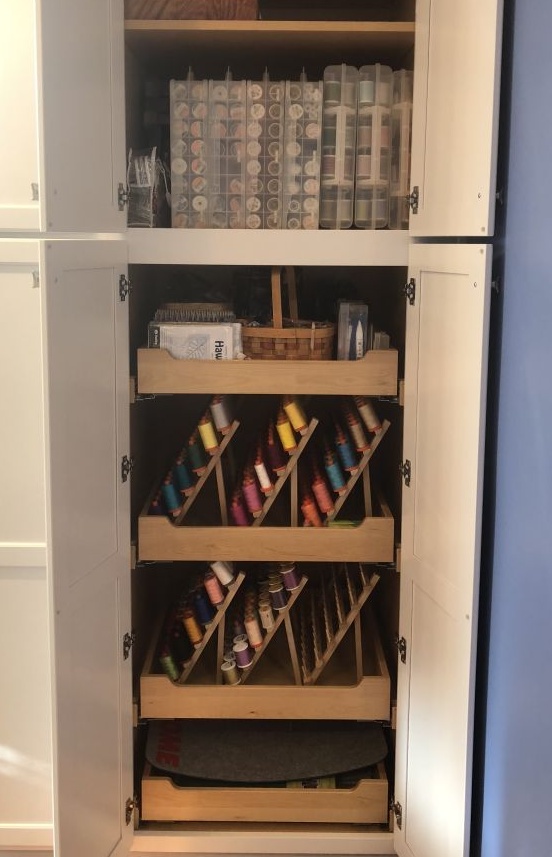
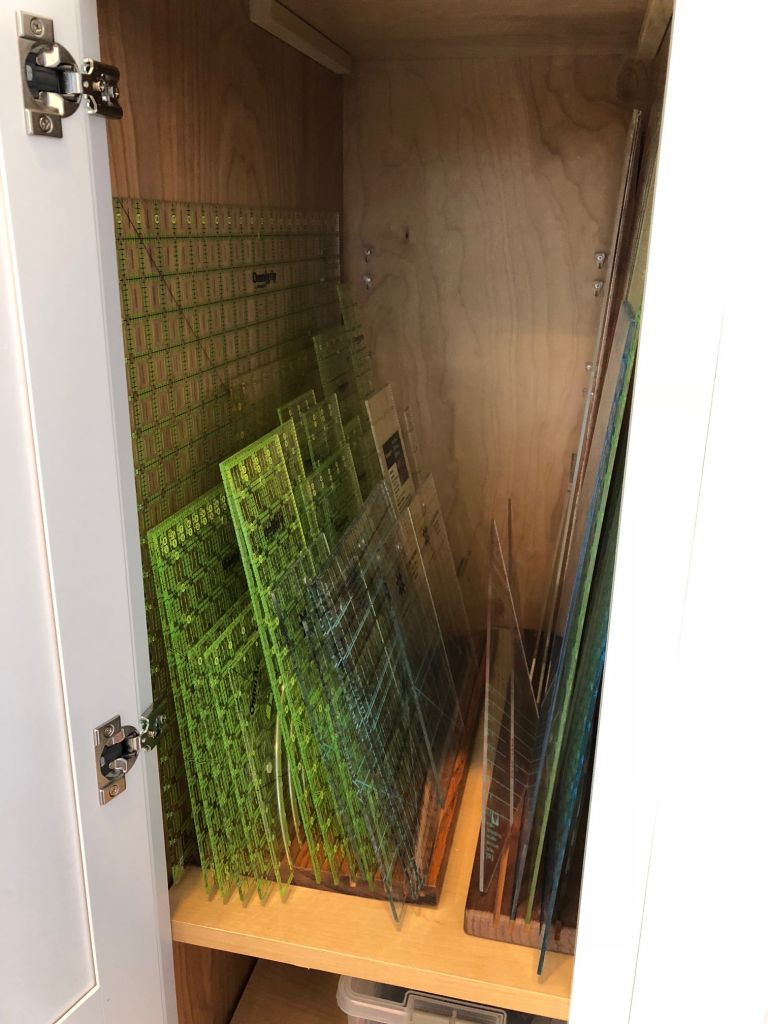
On the other side of the picture window is another bank of cabinets which holds even more supplies, my thread “collection,” and my rulers standing up in grooved wooden holders.

The sewing machine cabinet…
My new Janome Memory Craft 15000 has just been unpacked and is ready to go. I can hardly wait to dive into one of the many projects I have planned and hear her purr while making perfect stitches! The white sewing machine cabinet is the trusty Koala QuiltMate IV cabinet I’ve had since 2012. Notice the ironing station directly behind the sewing machine cabinet? It fits perfectly between the two banks of deep cabinets. And there is glorious sunshine streaming through the large picture window. I even have a hummingbird feeder right outside the window and its a treat to watch the hummingbirds flit to and fro all day long.

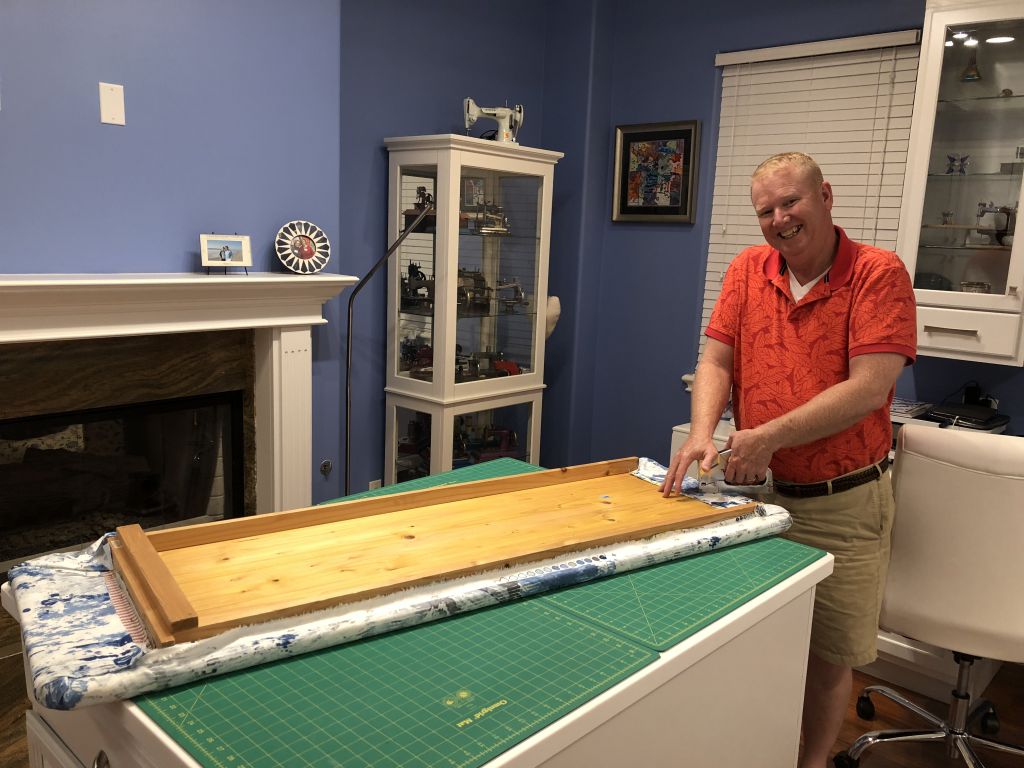
Mr. Kim helped me give my big board ironing surface a facelift. I found a pretty Kelly Ripa home dec cotton print in splattered shades of blue which was perfect for my new, modern studio.
The curio cabinet
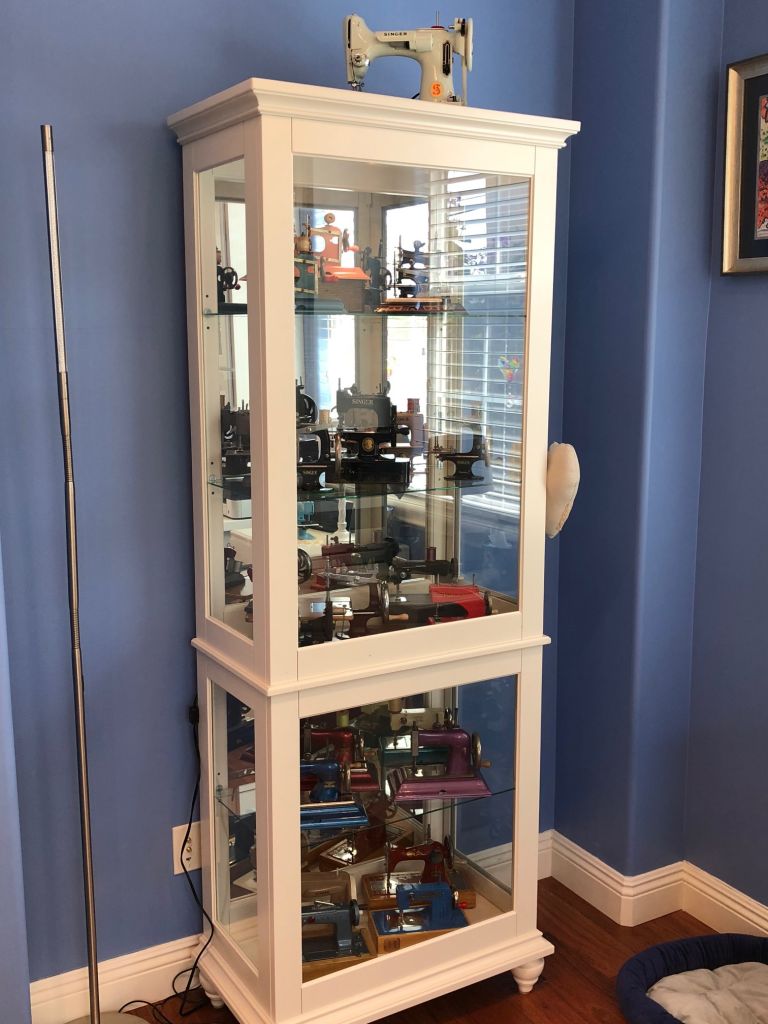
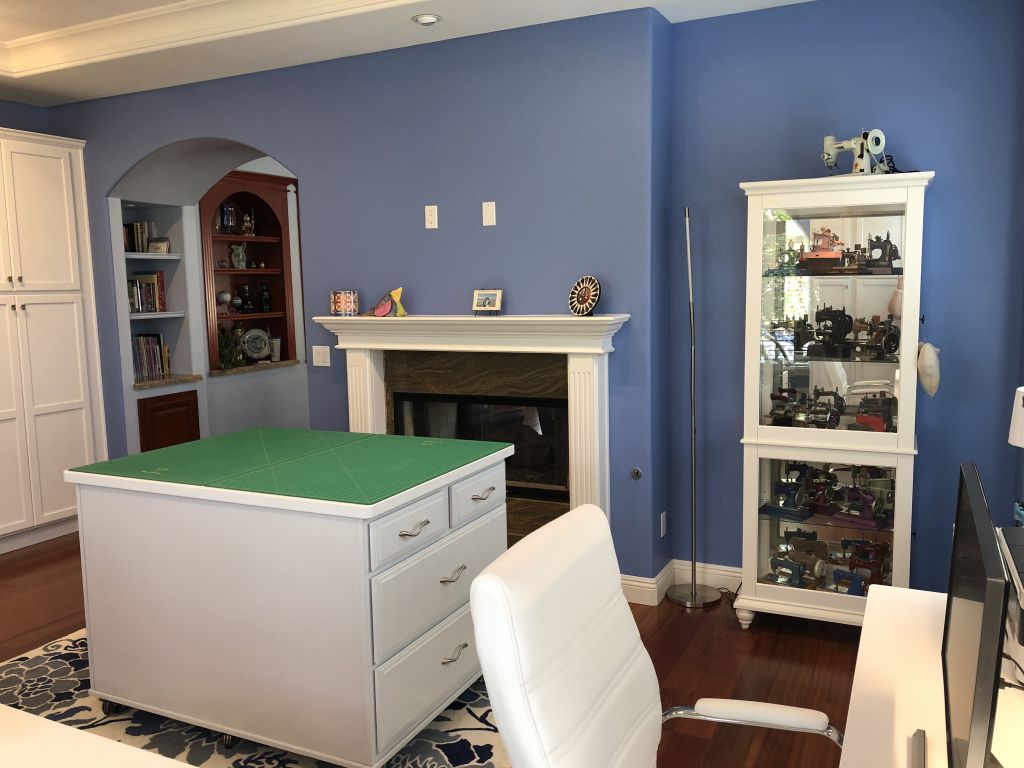
You may remember the ordeal I went through to get the lighted, white curio cabinet. (You can read about it HERE.) I’m very happy with the way it turned out and how beautifully it fits in the little “niche” near the fireplace. I’ve displayed a large portion of my antique toy sewing machine collection inside with my cherished white Singer Featherweight machine on top. The silver pole to the left is my super bright LED light I use for even more light over my cutting table. It bends so I can adjust the lighting in any direction.
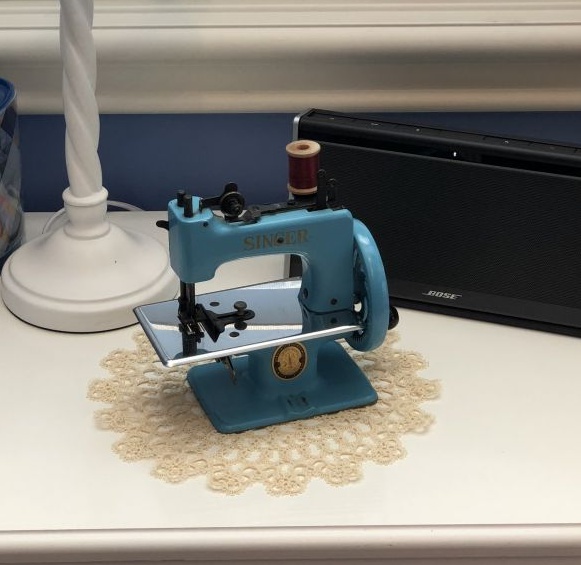
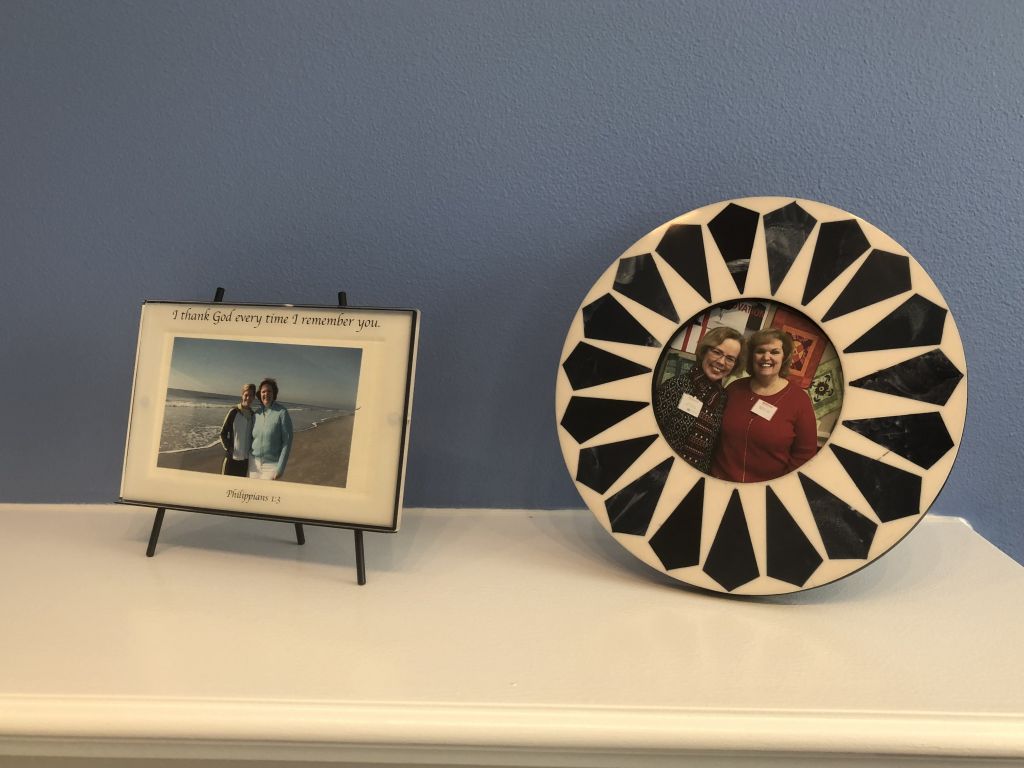
I enjoy showcasing my favorite mementos and gifts from friends, family or students in my studio; it makes me happy to see them and think about the people and times I have spent with them. This little blue Singer hand crank sewing machine is one of my favorites; I just love the color and it is proudly displayed on the hand tatted doily presented to me just last month by Patty Markley. Such an incredible treasure!
Other special touches
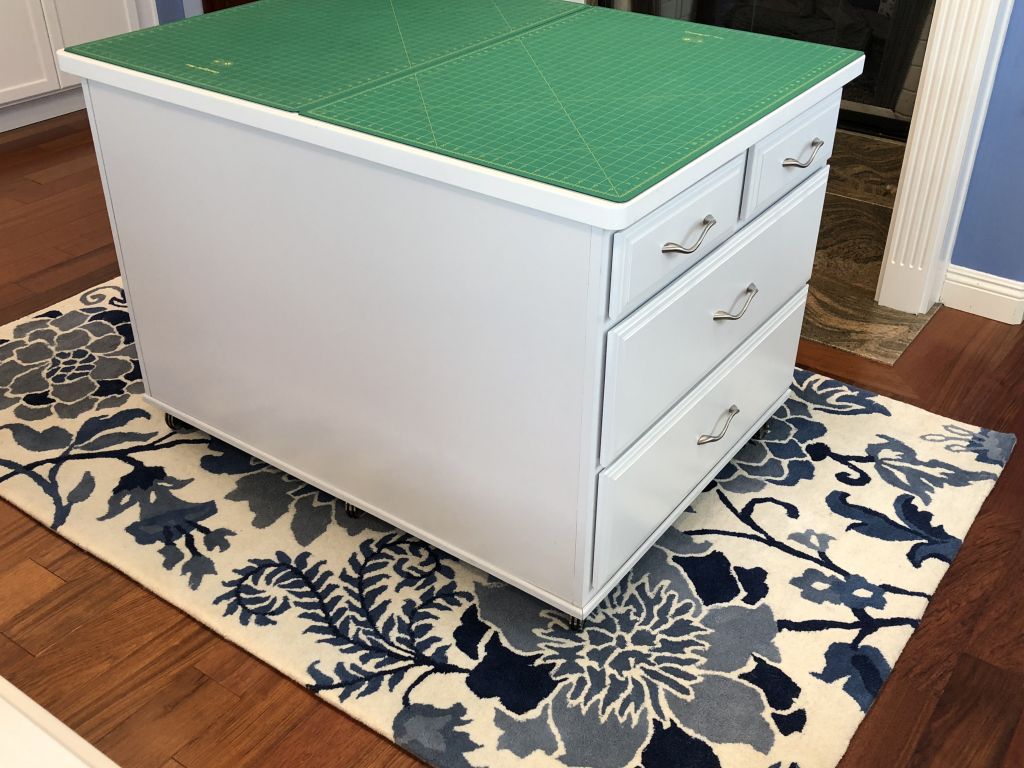
There were a couple of touches which I think made the transformation complete. I bought white leather chairs for my desk and sewing machine cabinet. You can find them on Amazon HERE. And I ordered (and returned!) two different area rugs for the floor underneath the cutting island before I found the right one. This rug is from Martha Stewart, purchased on Wayfair.com. The blues and bold floral design capture the modern vibe I envisioned.
One thing is still missing…
Everything is finished and in its place except for one important thing. The wall over the fireplace remains empty. It needs a new quilt. One designed and made just for this beautiful space. I’m currently working on several design ideas. Stay tuned. I’ll create something wonderful and when I do I’ll share it with you. In the meantime, you’ll know where to find me.
The wall over the fireplace mantel remains a blank canvas. For now.








Congratulations on the completion of your new studio!!
Beautiful space….love it!!
Beautiful creative space! Enjoy it.
Congratulations on the completion of your beautiful sewing studio, Kim! I’m thrilled it’s what you wanted and you’re so happy with it. I can see your smile in your words. A great place to create, and I know you will!
Absolutely beautiful. So happy you have a resting area also. Thanks for sharing.
Kimberly, your studio is just beautiful! Thank you for showing the picture of the doily so beautifully displayed. It really needed a home. I was honored to give it to you.
I love it Kimberly! What a beautiful place to create! I wish I had just an ounce of your organizational skills. Sew, so beautiful!
What a beautiful “living” studio room! It’s all tidy and organized, just waiting for a project to explode!
oh, it is just beautiful! and thank you for sharing your progress throughout. i love seeing how other sewists set up their equipment and supplies.
Looks so good,,,and have fun on that janome15000,,,now you can start doing some embroidery
I have the janome 12000 and love it
Make some more beautiful memory’s in your new home
Hugs
Absolutely gorgeous!
I could only dream of a space like this. Wishing you nothing but the best creativity in this new Studio.
Very inspirational! Congratulations!
Thank you for sharing your new studio space with us. It is a DREAM space. I hope all the trials and tribulations are behind you now. HAPPY CREATING!
Glad your sewing room is complete and you now will have time to create and enjoy. Like everything in this adventure you both have had many challenges but, now you can enjoy life in California.
Can’t wait to see it!
Lovely space. Bet you can’t wait to start creating.
Congratulations on getting it finished. It’s gorgeous. I’m much like you in that I like for my space to be neat and tidy. All the organization you’ve done is so fun to see! Congrats also on your 15000. I got one for Mother’s Day this year and just absolutely love it. Looking forward to seeing your next creation.
Looks like you had a great plan! I’m anxious to see all the beautiful things that will come out of your new space. Best wishes for continued success.
Couldn’t wait to see your room and I’m not disappointed…. It’s just beautiful and so inviting. you’ll enjoy creating in this room! Thanks for sharing… You are very inspiring!
Love it & the color too! Thanks for sharing, can’t wait to see the quilt on the wall, it will be worth the wait!
Awesome studio, looking forward to seeing your next project. Love all your quilts and designs. Have a wonderful day and year in your new place.
Your room looks lovely. I wish youany happy, creative hours in it.
Thank-you for sharing your journey! What a beautiful znd functionsl space!
Typos! ‘And functional’
Congratulations on the completion of your beautiful work area. I know you will create the perfect quilt for above the fire. So happy for you.
Congratulations on the completion of your beautiful work area. I know you will create the perfect quilt for above the fire. So happy for you.
Barb
I confess to being envious. I work in my basement, one half of which is for sewing, the other half for making baskets. Maybe some day…..
All your patience has paid off. The room is beautiful and so functional and organized. Looking forward to seeing all your new creations.
Wow what a process to a beautiful and functional completion. Good for you. I hope you enjoy your space for many year on come. I can feel the creativity flowing thru your naration. You are blessed in many ways.
What a fabulous room! I’m so jealous!
Absolutely love your studio! What a blessing to be able to design and use such a beautiful space. I may have missed it but was wondering if you use a design wall, I have a much smaller space and I was trying to think how to maybe make a portable one, guess I had it on my mind. I just can’t tell you how much I love the organization of your space, you did an amazing job. Can’t wait to see what you create.
Debi, thanks for leaving a comment and for all your kind words. You brought up a good point; the design wall. This was one thing I was not able to work into the design as a permanent solution — and a design wall is absolutely necessary! Due to the lack of more wall space, I opted to do what I did in the last studio and that is, I use a portable design wall. It is flannel and fits over those flexible poles with joints for easy folding and storage. It isn’t ideal, but works for me. Thank you for asking about it!
What a beautiful space to create! Something dreams are made of and for you it is a reality, after your hard work.
Thank you, EVERYONE, for all the wonderful, supportive comments and love! I appreciate it very much!
Wow! Totally outstanding. After all the headaches, you deserve a beautiful place.
My husband won’t even look at it. But, I still want it!!
Kimberly, I love your sewing space! It is beautiful. Your cutting island is exactly what my husband and I have been talking about making for my sewing room. You mentioned in your blogs about your redesign that the island was custom made. I would love details to assist us in constructing one for my room. Are you willing to share?
Karen
Karen, I emailed you privately. If you didn’t receive it, please let me know.
So sleek and pretty, that’s a space to be creative. I would also love to get the details on the cutting island. So perfect!